How to Setup Minikube on AWS instance
A practical Guide to setup Mini Kube on AWS EC2 instance


Hi there, In this blog post, we are going to learn about how to set up a minikube on an AWS Instance.
First, let's understand what is Minikube and what its advantages then we will do a demonstration of its setup on an EC2 Instance.
Minikube is a great way to get started with Kubernetes. It's easy to install and use, and it provides a complete Kubernetes environment that you can use to learn about Kubernetes or test your applications.
Here are some of the benefits of using Minikube:
Easy to install and use: Minikube can be installed with a single command, and it doesn't require any special configuration.
Lightweight: Minikube is a lightweight distribution that doesn't require a lot of resources.
Portable: Minikube can be installed on a variety of operating systems, including Windows, macOS, and Linux.
Complete Kubernetes environment: Minikube includes all the essential components of a Kubernetes cluster, so you can use it to learn about Kubernetes or test your applications.
EC2 Instance Launch :
Go to the AWS website after logging in to the AWS. Click on the search bar (on top like below image)
In case if you don't have an AWS account yet, please click here
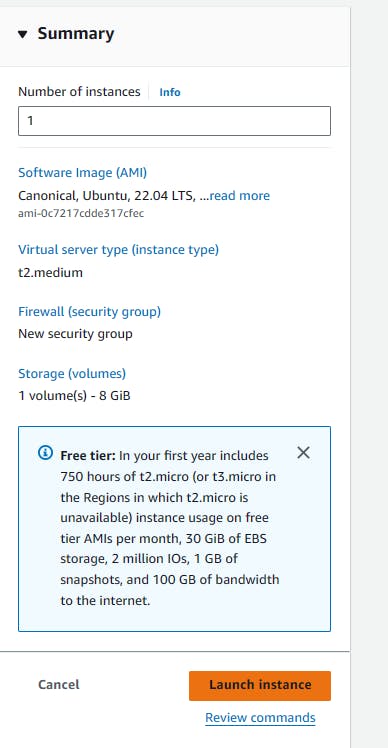
Let's launch our New EC2 Instance to set up MiniKube.


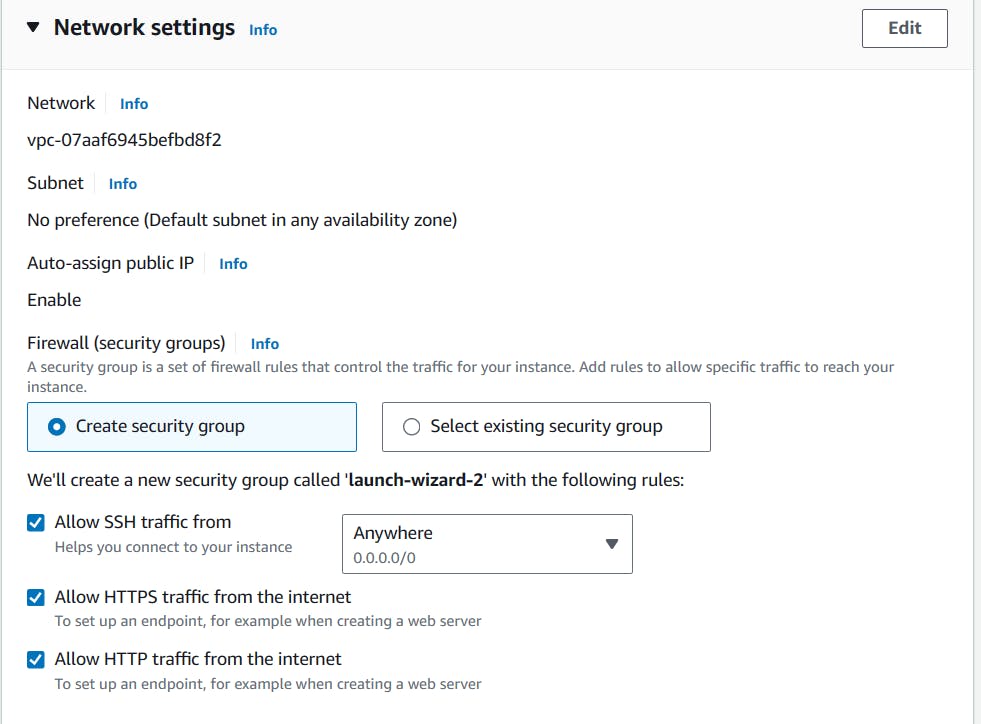
Create a new key pair and select the Private key file format according to your OS(For Windows select .ppk or for Linux select .pem)
Note: Key-pair Name is your choice and if you are using Linux then download a key pair with a .pem extension and if you are using a Windows-based system for setting up Minikube then download a key with .ppk extension.


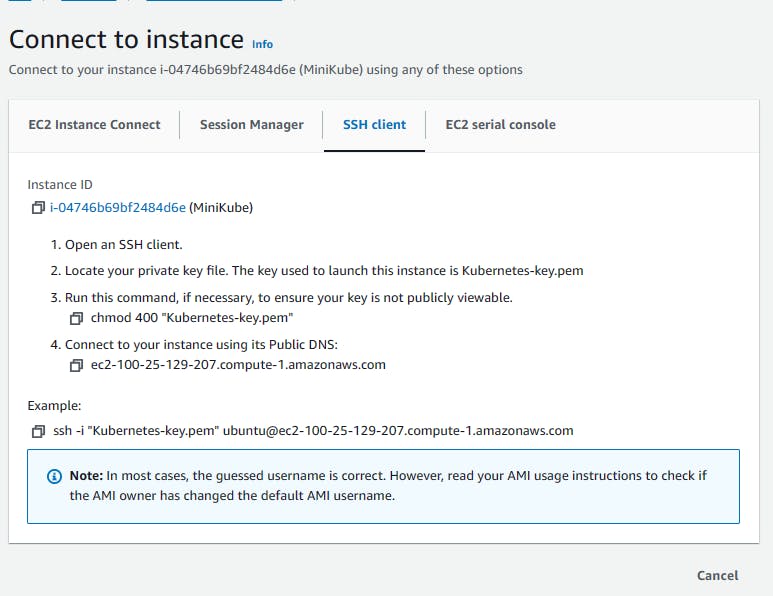
Let's log in to the server by using the SSH method. Before that let's modify our keypair permission.
$ cd <location of your keypair>
$ ls -lrt | grep -i <name of your keypair>
$ chmod 400 <keypair name>


Now you can connect to the instance with putty / mobexterm or any other SSH client of your choice by using our EC2 instance's IP address.
Below Below the images to get some idea of how to connect to EC2 instances in different ways.

Now, run the following commands to install Minikube on your local machine or AWS machine.
$ sudo apt update -y && sudo apt upgrade -y
$ sudo reboot
After 3 to 4 minutes, log in to the server through ssh and execute the below commands
$ sudo apt install docker.io
$ sudo usermod -aG docker $USER && newgrp docker
$ sudo apt install -y curl wget apt-transport-https
$ curl -LO https://storage.googleapis.com/minikube/releases/latest/minikube-linux-amd64
$ sudo install minikube-linux-amd64 /usr/local/bin/minikube
$ minikube version

$ curl -LO https://storage.googleapis.com/kubernetes-release/release/`curl -s https://storage.googleapis.com/kubernetes-release/release/stable.txt` /bin/linux/amd64/kubectl
how to install kubectl on linux server
$ chmod +x kubectl
$ sudo mv kubectl /usr/local/bin
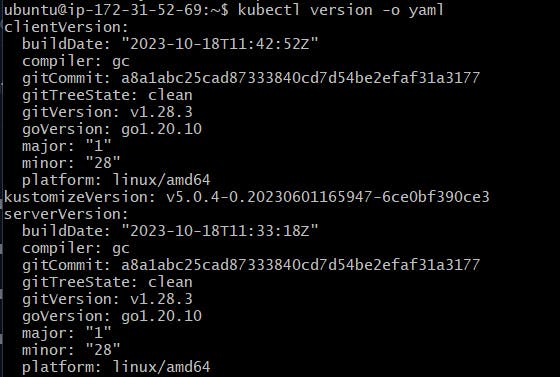
$ kubectl version -o yaml
$ minikube start - vm-driver=docker
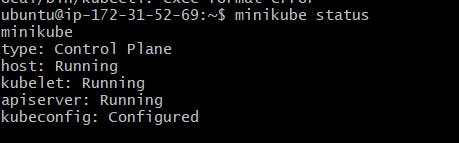
$ minikube status
You can also validate your kubectl version by running the command
$ kubectl version

$ kubectl get nodes

How to create and Deploy a pod
$ vi Myfile.yml
---
apiVersion: v1
kind: Pod
metadata:
name: testpod
spec:
containers:
 - name: c00
image: ubuntu
command: ["/bin/bash", "-c", "while true; do echo Hello-Kubernetes; sleep 5 ; done"]
 - name: container2
image: ubuntu
command: ["/bin/bash", "-c", "while true; do echo Second Container is still running; sleep
3 ; done"]
restartPolicy: Never
Run the following command to deploy the pod:
$ kubectl apply -f Myfile.yml
To list pods
To list all the pods, use this command:
$ kubectl get pods
Check Logs:
You can check the logs of the primary container with the below command
$ kubectl logs -f pod1
To check the logs of the primary container, specify the container name
$ kubectl logs -f pod1 -c container1
Delete the Pod:
To delete the pod, use the below command
$ kubectl delete pod pod1
To list the IP of the pod, use the below command.
$ kubectl pod pod1 -c container1 — hostname
To delete the pod by specifying the manifest file name
$ kubectl delete -f Myfile.yml

we will meet in the next article with another interesting topic, till then keep practicing.
please like 👍, follow Nagacharan share, and comment 💬your views on this article.