Deploying and accessing an application Behind the Firewall on Azure
Practical demonstration of application deployment behind the firewall in Azure


Architecture of our Simple Project

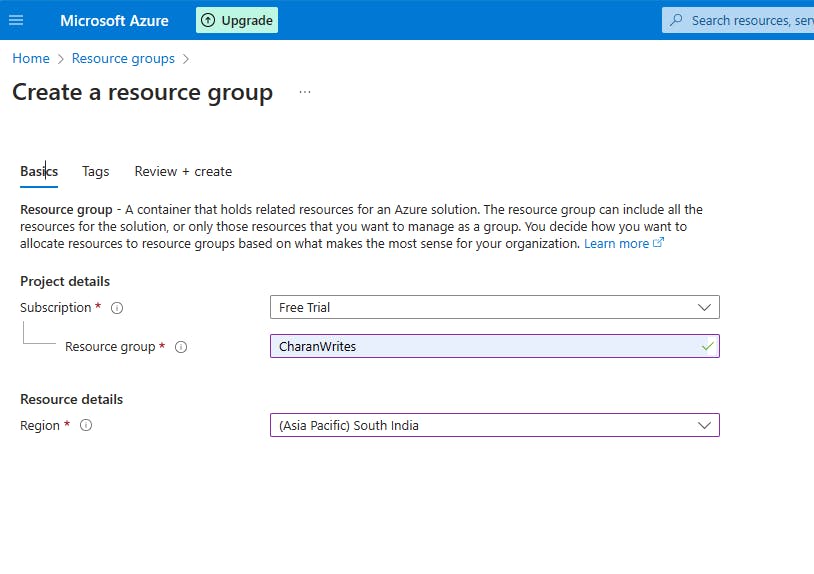
Creating Resource Group
Creating VM
Create Virtual Network
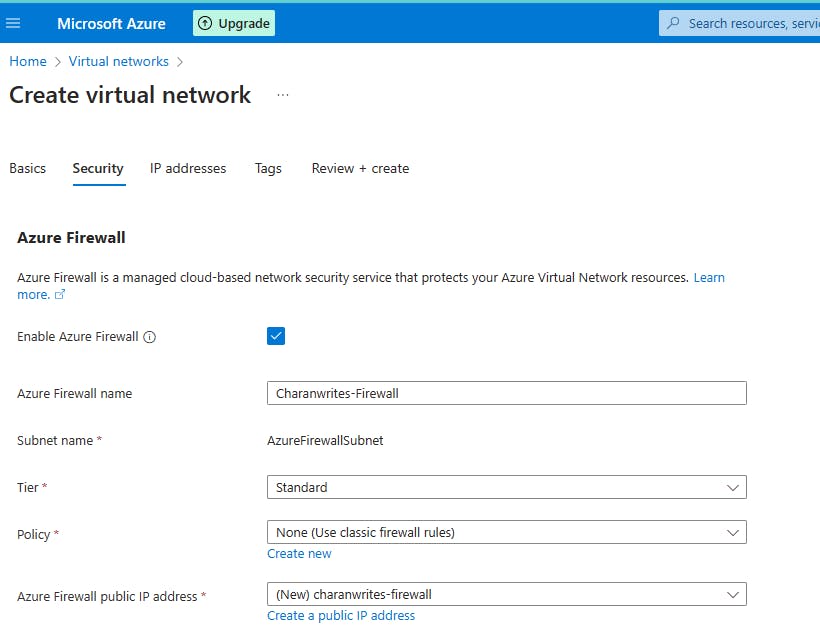
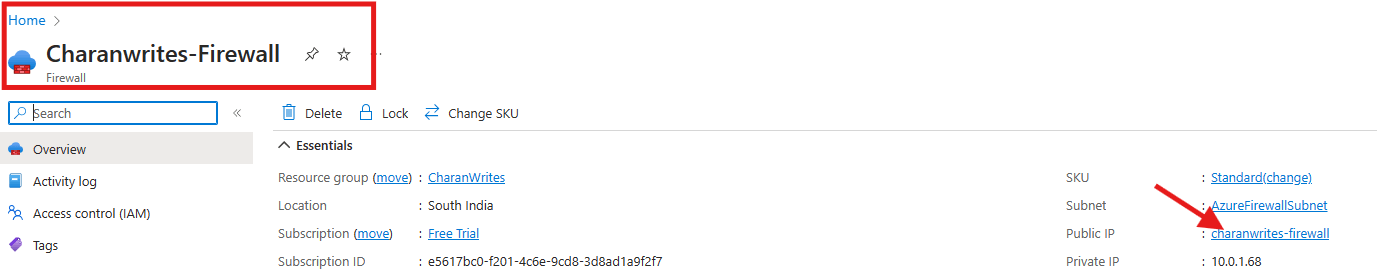
configuring Firewall Settings
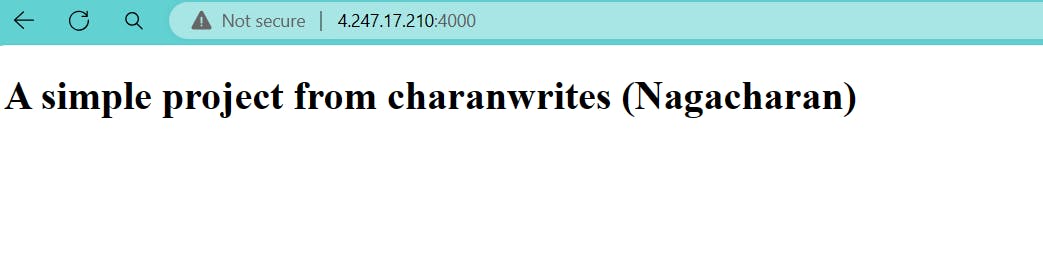
Installing and accessing Nginx

Create Virtual Network :

Note : Virtual Network Name and Resource group name may or may not be the same.
Enable boston
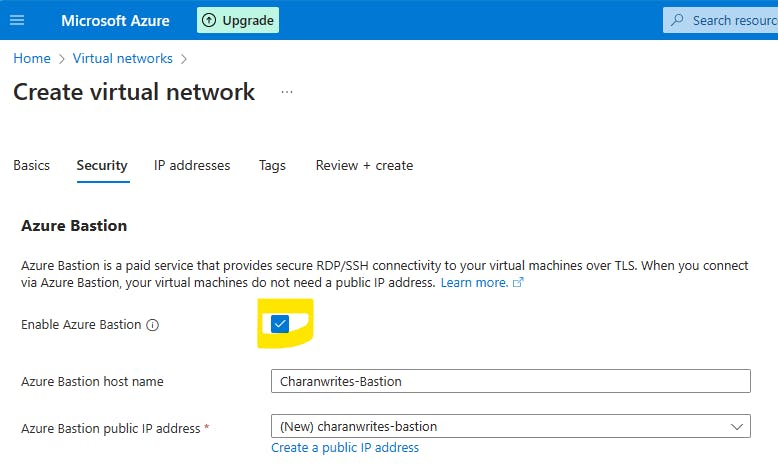
Enable Firewall
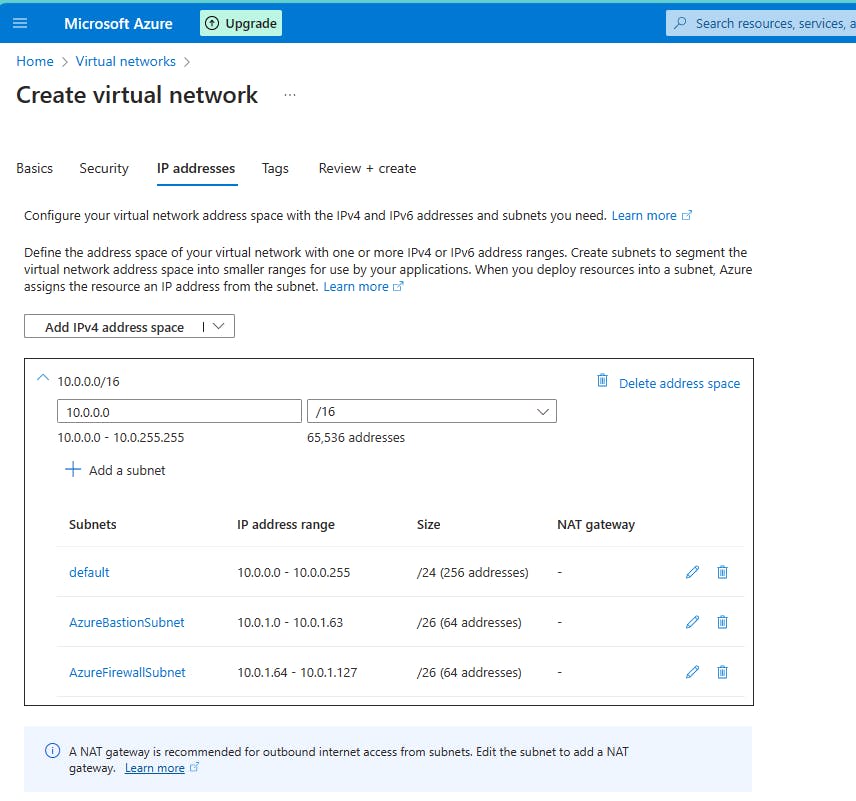
Let's keep all default things as it is in ipaddresses.
Finally Review and create

After a couple of minutes, our Virtual Network will be created successfully.
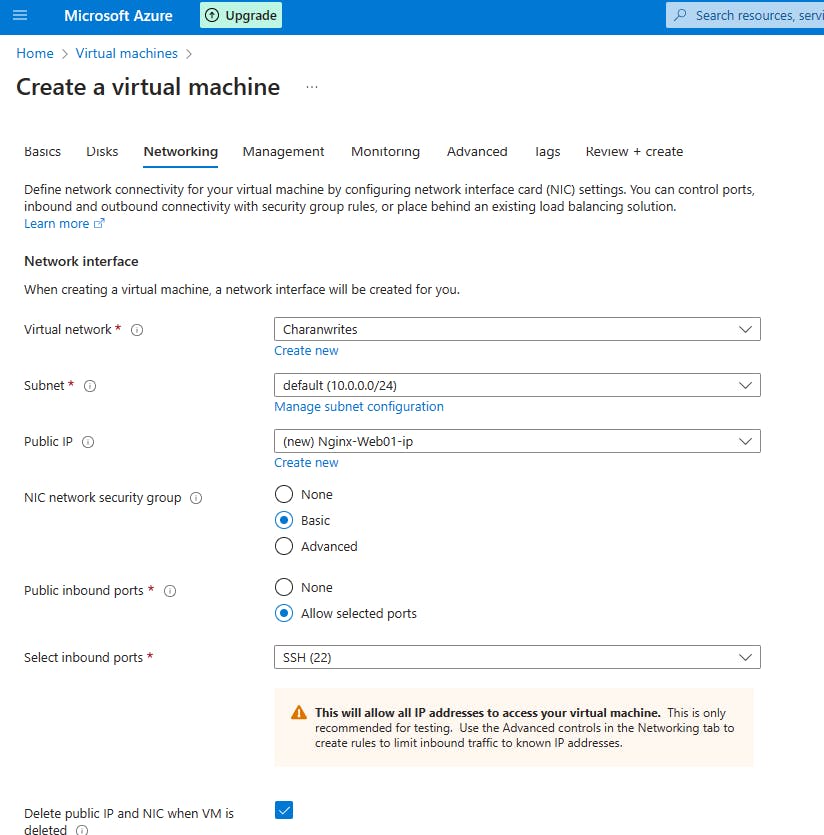
Creating VM in Azure
Go to azure portal dashboard and click on virtual machine service showing on the dashboard.


Give the virtual machine name "Nginx-Web01" and select the region which is near to your location from the dropdown. And keep the remaining steps as it is.

let's keep the remaining default values as it is.

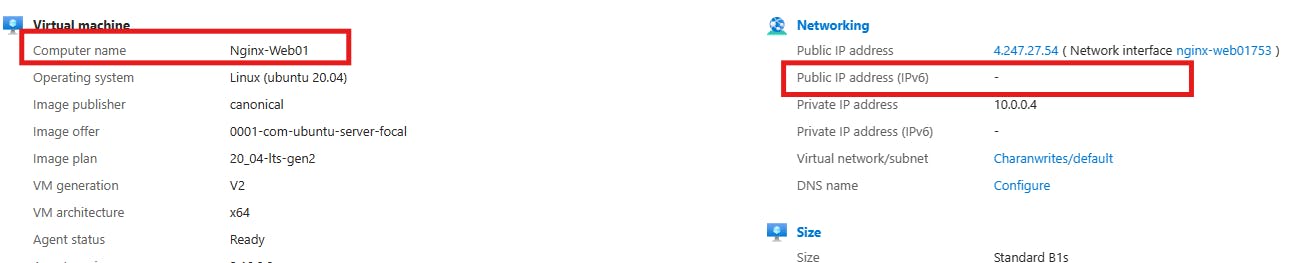
After a couple of minutes, our VM resource got created. But, we can't able to see Public IP

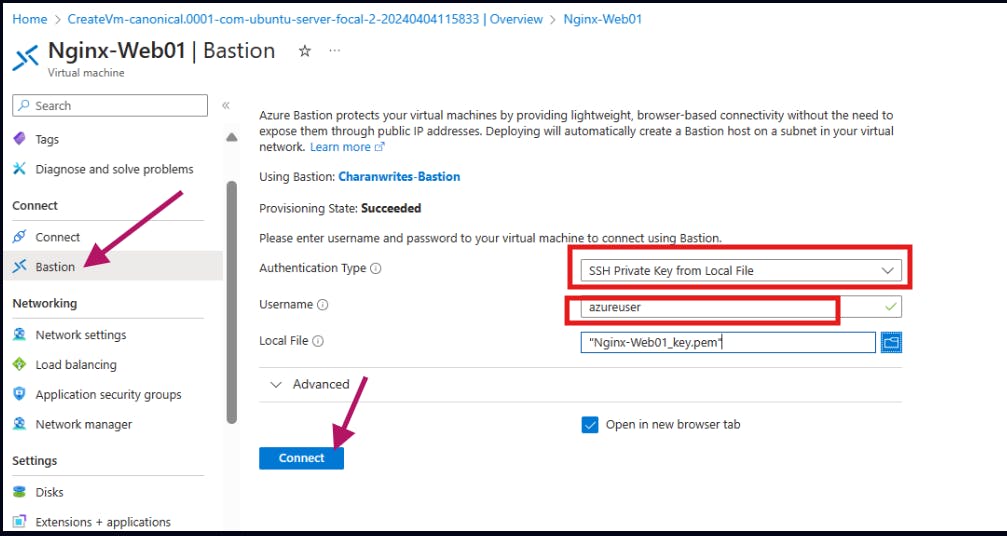
install & configure NGINX on Ubuntu
# update packages list
sudo apt update
sudo apt upgrade -y
# install nginx
sudo apt install nginx -y
# start nginx service
sudo systemctl start nginx
# create HTML file
sudo vim /var/www/html/index.html
# press i and then paste the below code
<!DOCTYPE html>
<html lang="en">
<head>
    <meta charset="UTF-8">
    <meta name="viewport" content="width=device-width, initial-scale=1.0">
    <title>Demo Page</title>
</head>
<body>
    <h1>A simple project from charanwrites (Nagacharan)</h1>
</body>
</html>
# press :x
# restart nginx service
sudo systemctl restart nginx
# verification
curl localhost:80


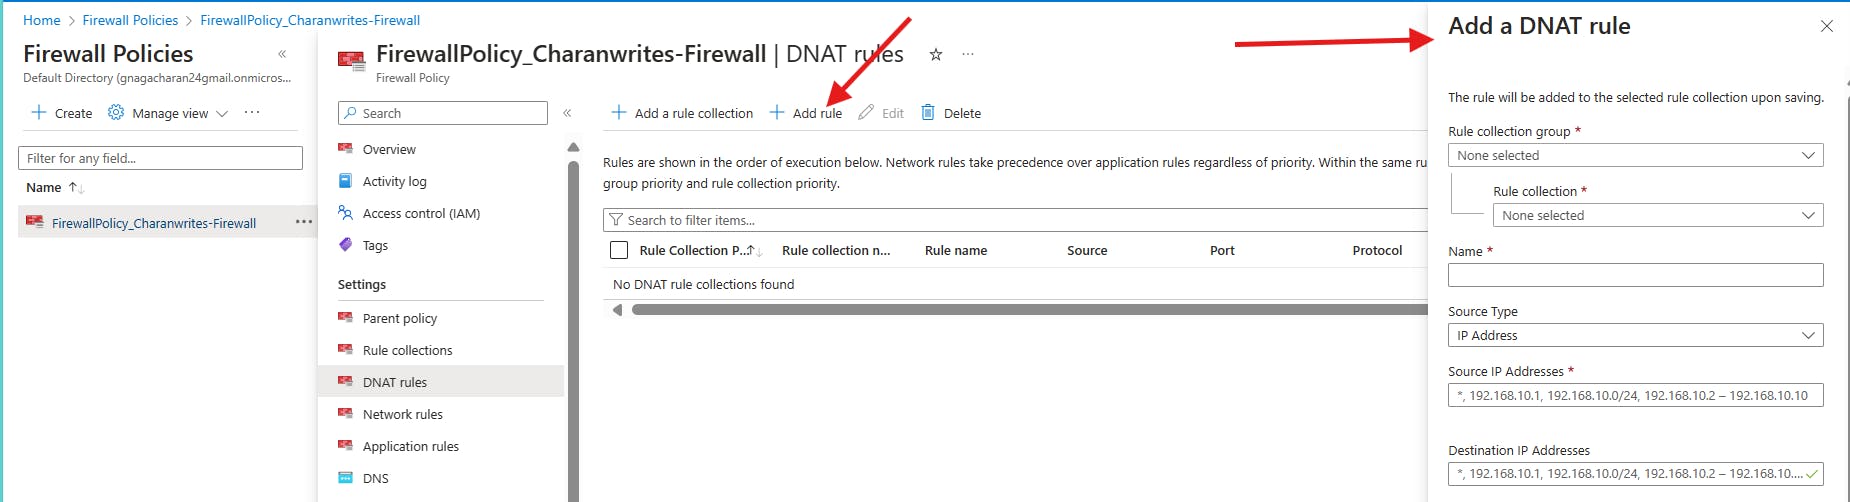
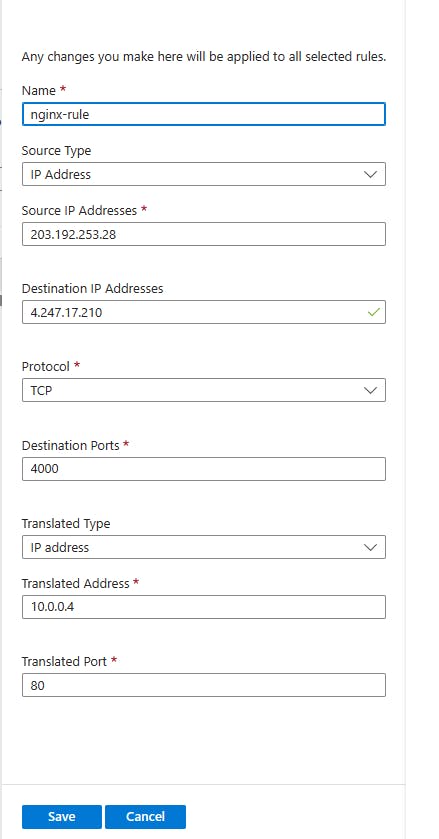
Add DNAT Rule