

Grafana Integration with MySql Database
Practical Guide on Integrating MySql Db with Grafana and create beautiful dashboards.


PREREQUISITE
Create Linux EC2 instance in AWS
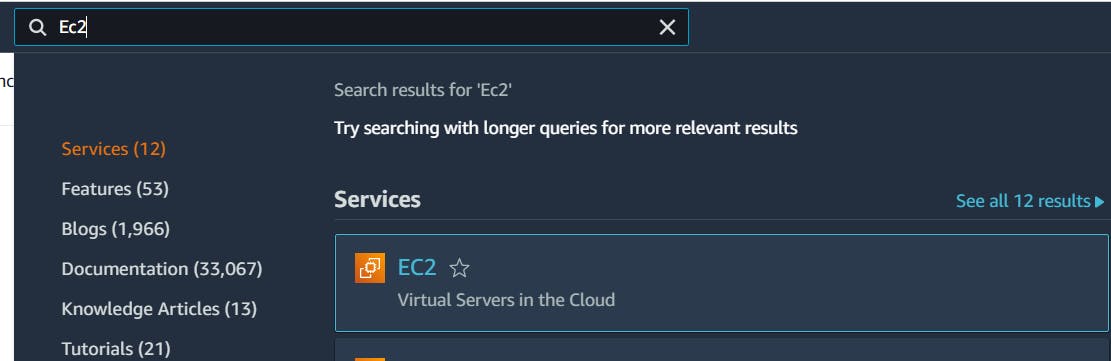
first login to your AWS account and then search for EC2 on global search.
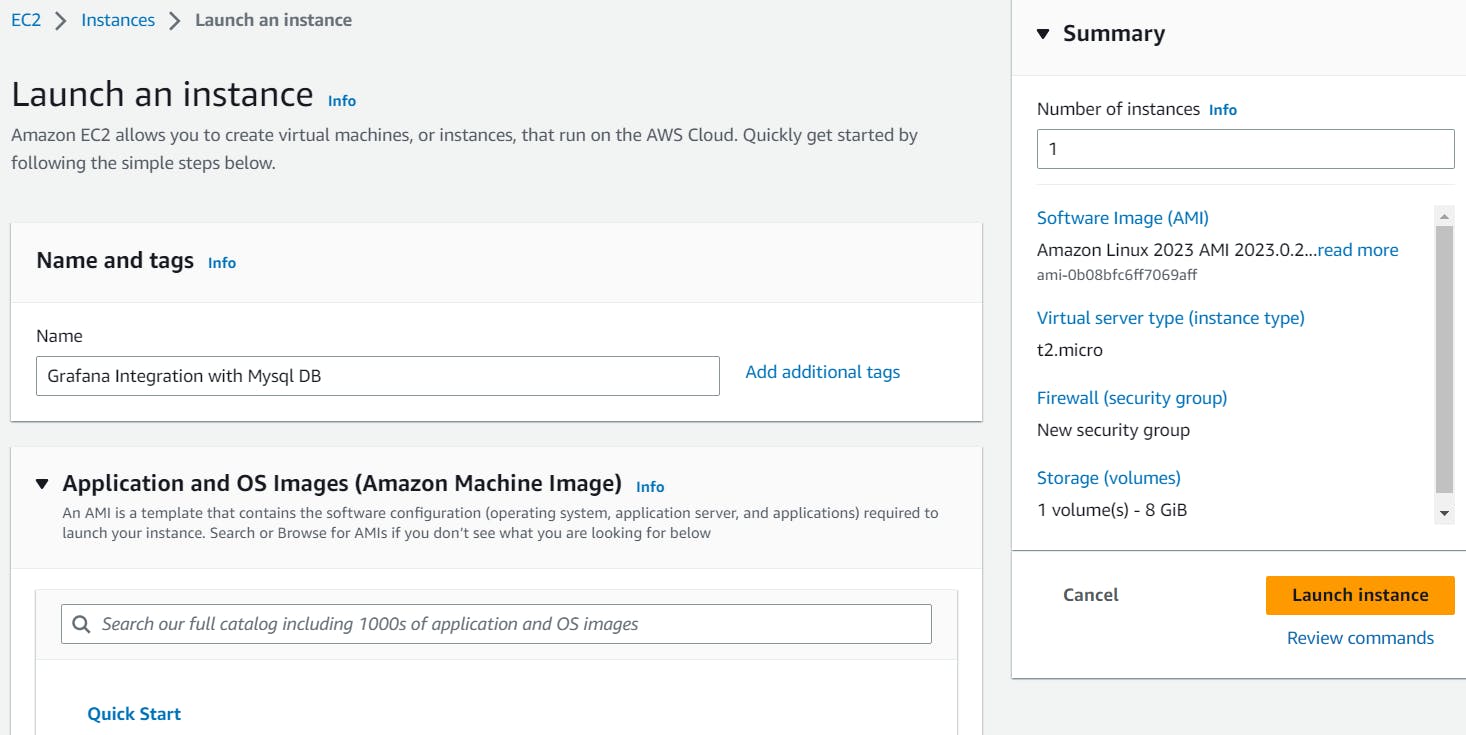
click on " launch instance "

connect to the instance by clicking on connect button on top of the screen.
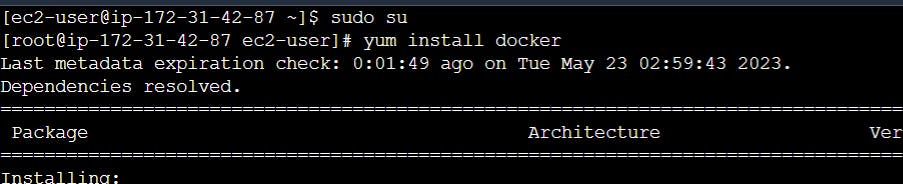
yum install docker
- Here we are installing docker as a containerization tool by using
yum install dockercommand in our EC2 Instance.
- Here we are installing docker as a containerization tool by using
systemctl start docker
- Once we have installed our docker, we need to start it. We did the same using
systemctl start dockercommand .
- Once we have installed our docker, we need to start it. We did the same using

systemctl enable docker
- Once we started, we need to make sure it is enabled to do the requested tasks. That is what we are doing with
systemctl enable dockercommand in the terminal.
- Once we started, we need to make sure it is enabled to do the requested tasks. That is what we are doing with

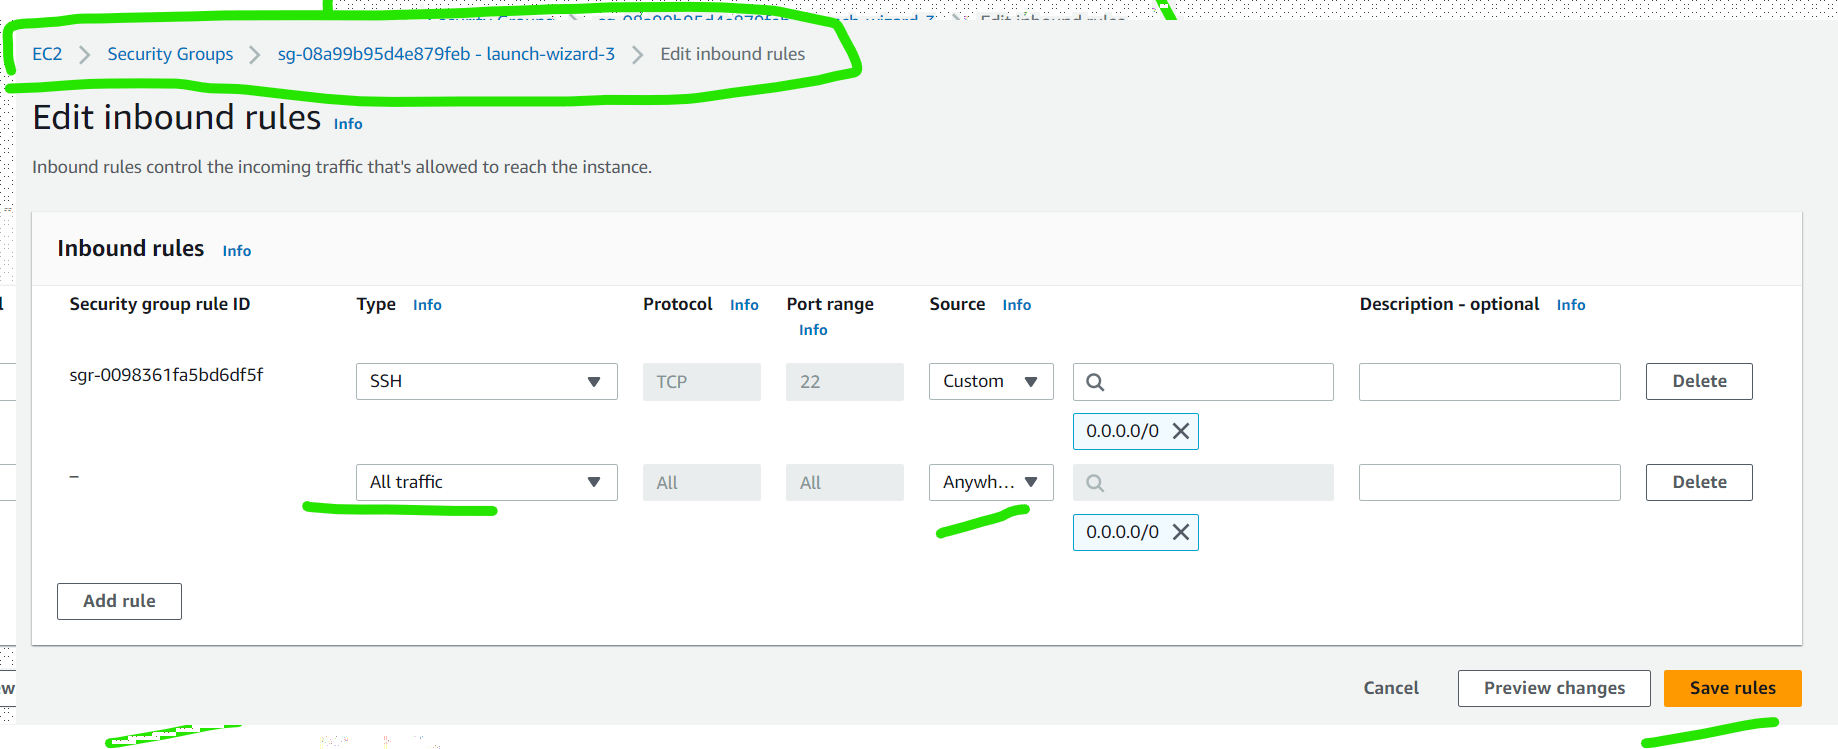
Step 1 – Change the Security Group of the EC2 instance you created to ALLOW ALL TRAFFIC
Here we need to make sure the instance can able to receive data from all the sources of internet.
Note : This is not same in real-world scenario.
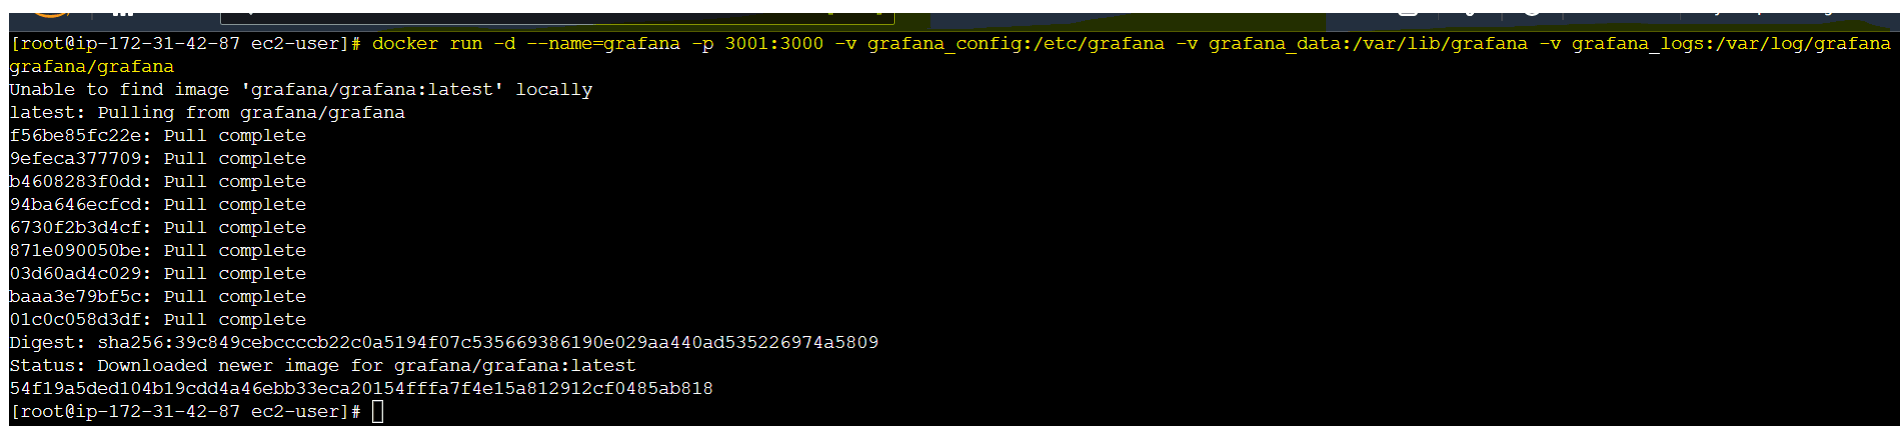
Step 2- Connect to your instance Run the below command and give credentials docker run -d --name=grafana -p 3001:3000 -v grafana_config:/etc/grafana -v grafana_data:/var/lib/grafana -v grafana_logs:/var/log/grafana grafana/grafana
Here we are running grafana as a container in detach mode in our containerization tool "docker", and also attaching volume of it.
Here `-d` means running an image as a container in detached mode.
`-p` Indicates attaching port. -p Hostport : client port. Grafana is our host here.
3000 is the port outside the container and 3001 is the port inside the container here.
`-v` represents the volume attached to the present container.
Now, login to the grafana by providing your Ec2 instance IP : <port id of your host> EX: http://3.6.92.131:3001 in your browser
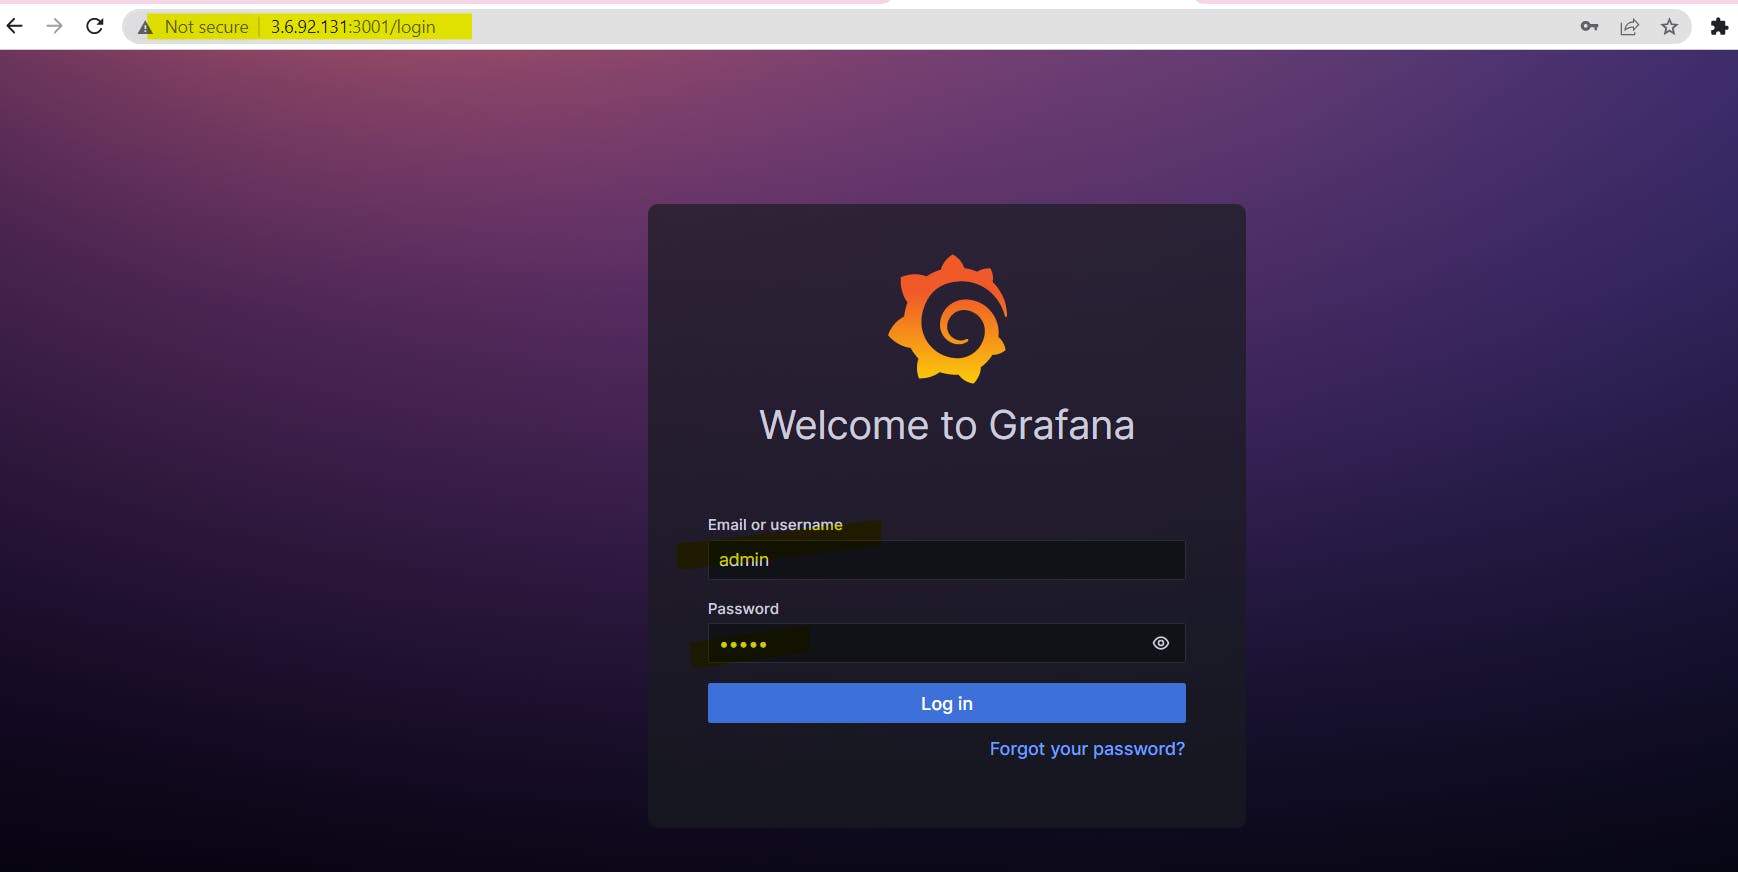
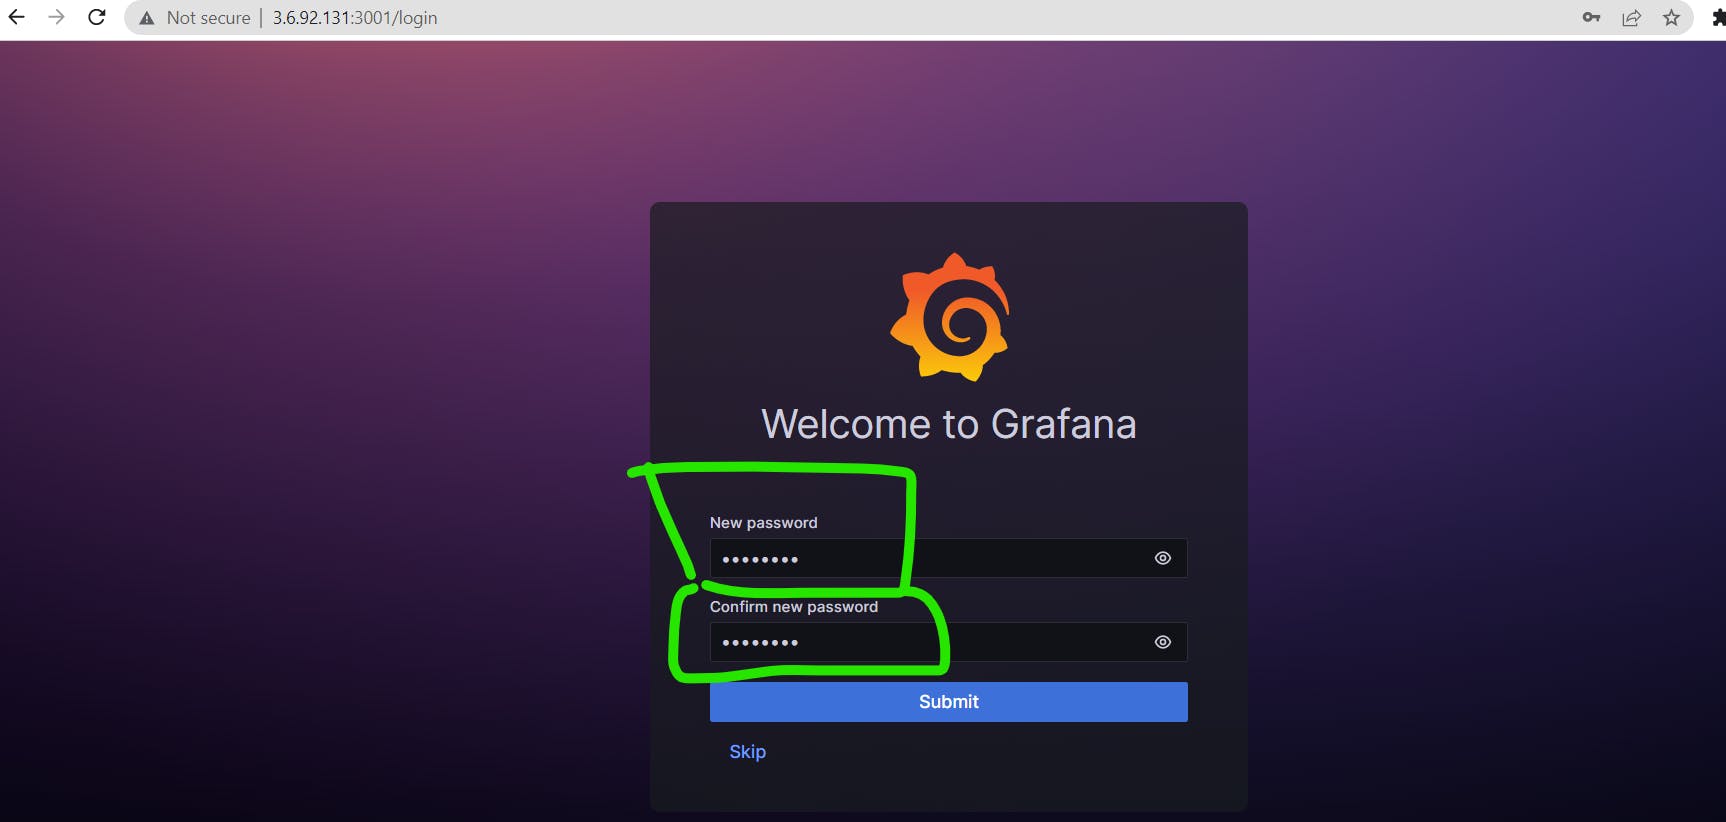
Then it will ask you for a password and user name give admin: admin and then it will pop up for you to enter your new password.
Step 3 - Install MySql
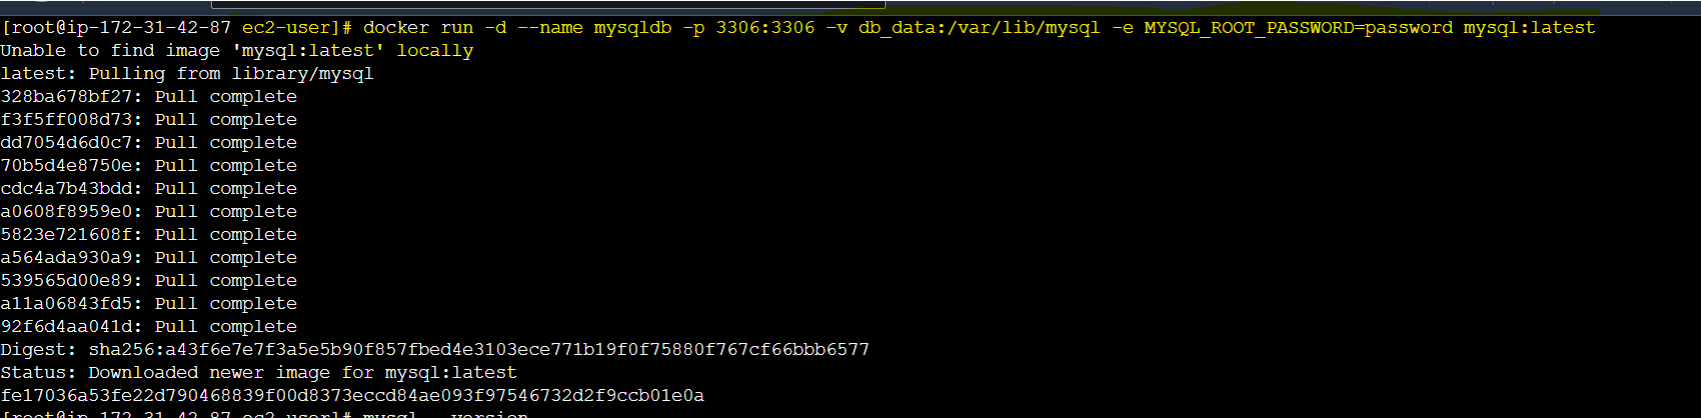
Step 3.1 : docker run -d --name mysqldb -p 3306:3306 -v db_data:/var/lib/mysql -e MYSQL_ROOT_PASSWORD=password mysql:latest
Step 3.2 : docker exec -it mysqldb bash
The docker exec command runs a new command in a running container.
-itis that we are telling docker to run the command in interactive terminal of mysql db .

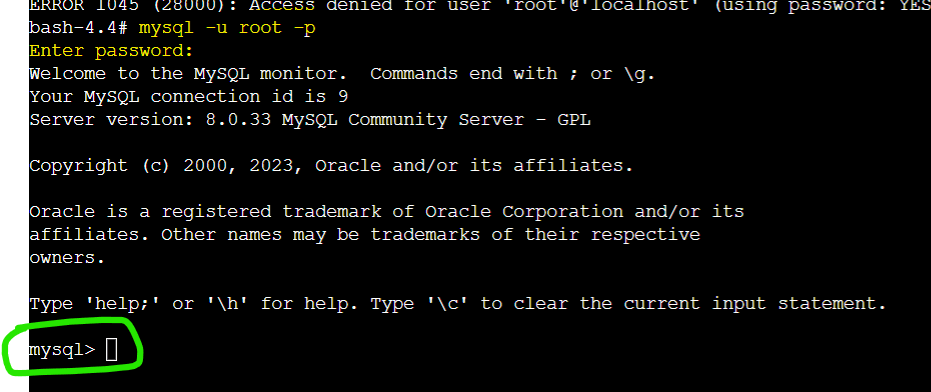
STEP 3.3 : mysql -u root -p password
-uis for user and-pfor password for the mysql db login.
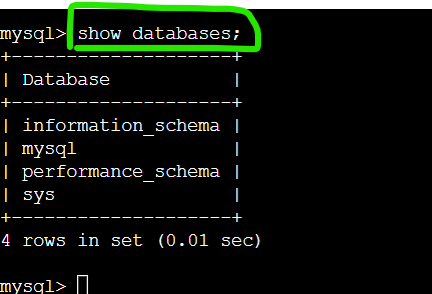
Step 3.4 : show databases;
- Here we are trying to see the databases present in the mysql db.
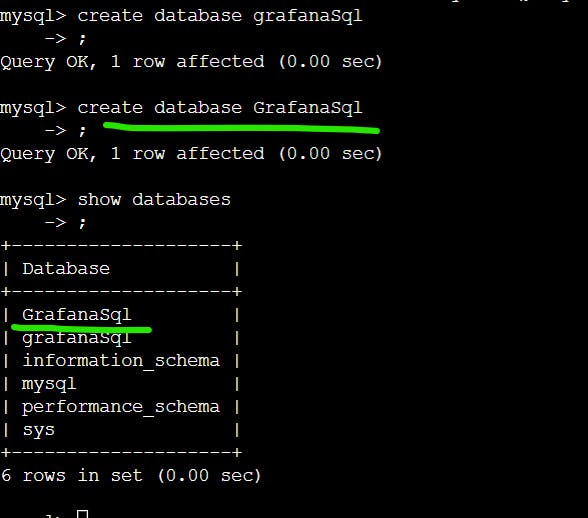
Step 3.5 : create database GrafanaSql;
- Here we are creating a database named
GrafanaSql.
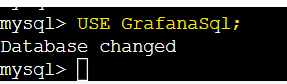
Step 3.6: USE GrafanaSql;
Step 3.7 : CREATE TABLE person ( person_id INT NOT NULL PRIMARY KEY, fname VARCHAR(40) NULL, lname VARCHAR(40) NULL, age INT NOT NULL, created TIMESTAMP );

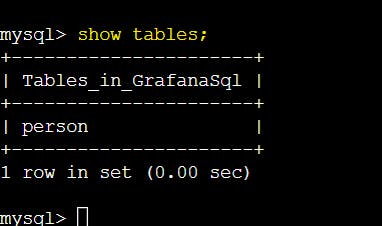
Step 3.8 : Show tables;
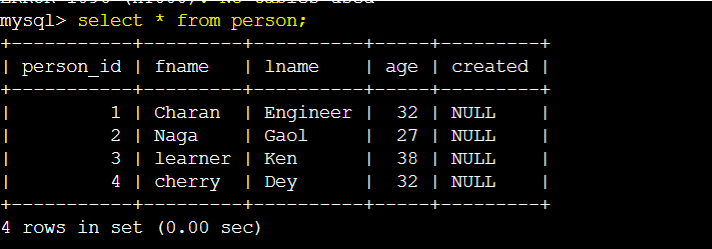
Step 3.9 : INSERT INTO person (person_id, fname, lname, age) VALUES (1, 'Charan', 'Engineer', 32); INSERT INTO person (person_id, fname, lname, age) VALUES (2, 'Naga', 'Gaol', 27); INSERT INTO person (person_id, fname, lname, age) VALUES (3, 'learner', 'Ken', 38); INSERT INTO person (person_id, fname, lname, age) VALUES (4, 'cherry', 'Dey', 32);

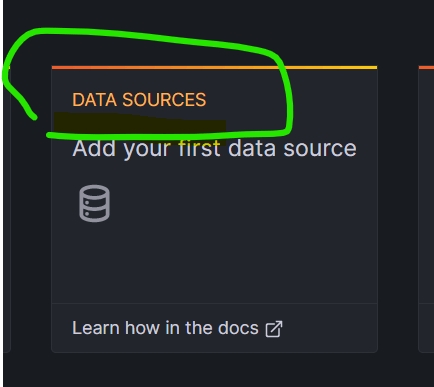
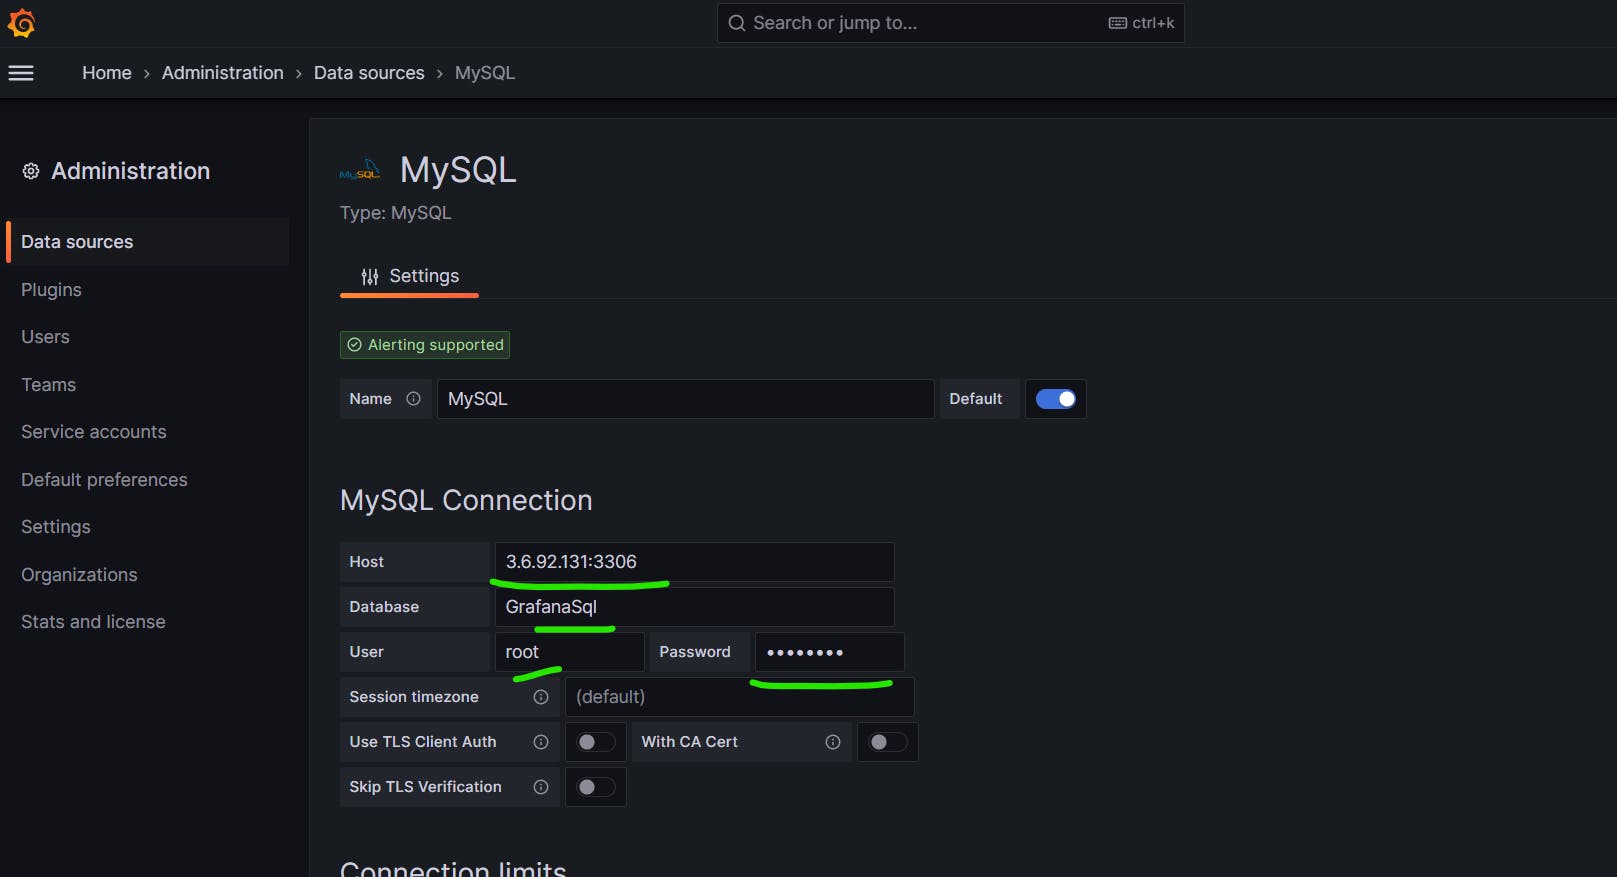
Step 4 : Add DataSource in Grafana as MYSQL DB [ Add the IP:port of database / DB name / Username and password
click on datasource button on grafana.
since we are integration MySQL with grafana. Hence, select MySQL

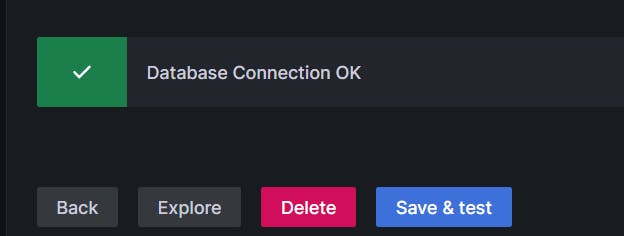
once you clicked on save and test, you are supposed to see popup as "Database Connection ok".
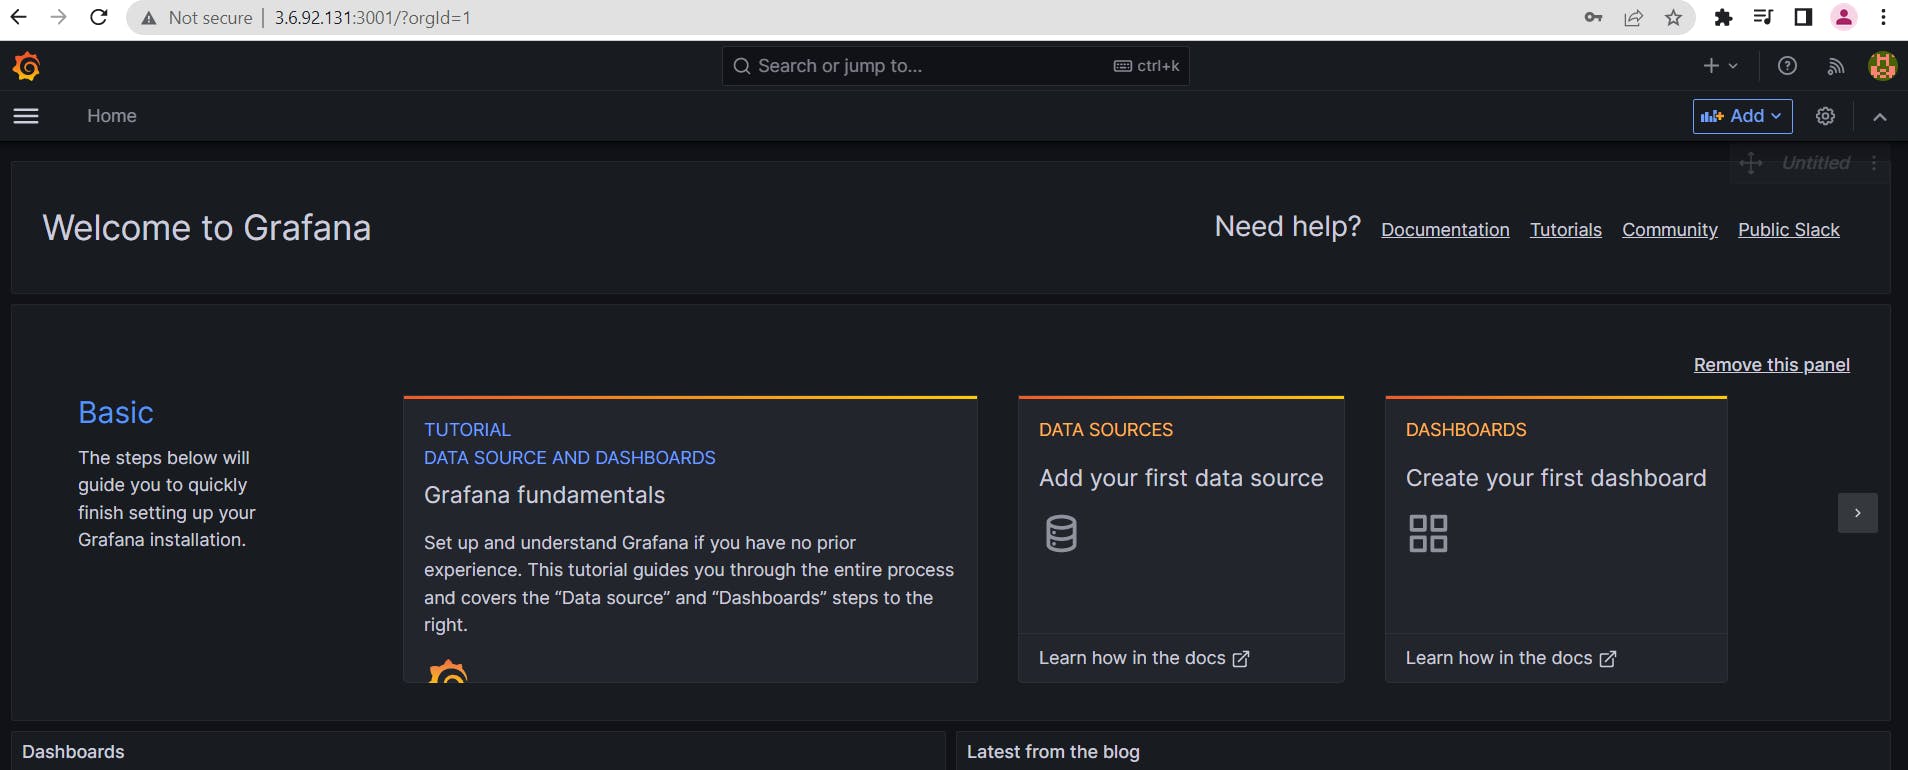
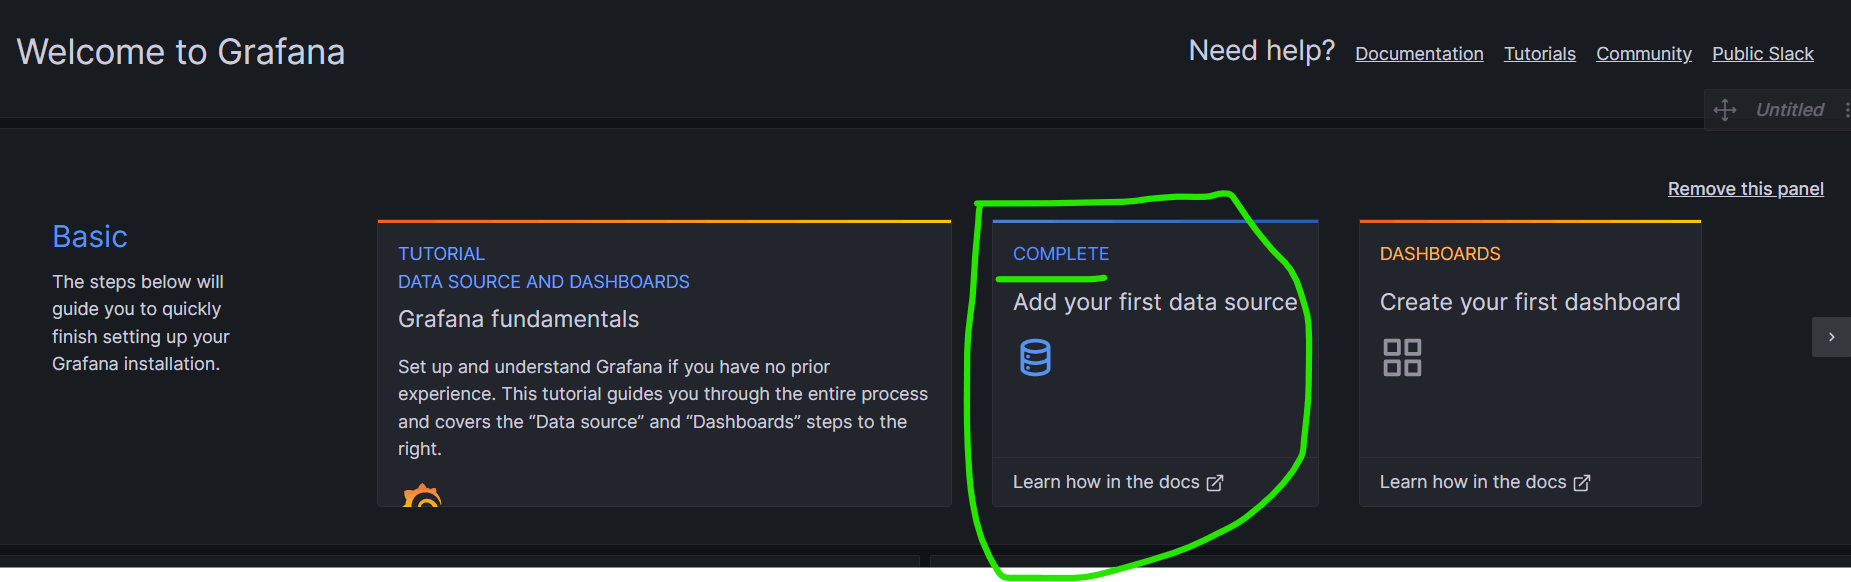
You can also verify again by going back to Grafana home and able to see like below
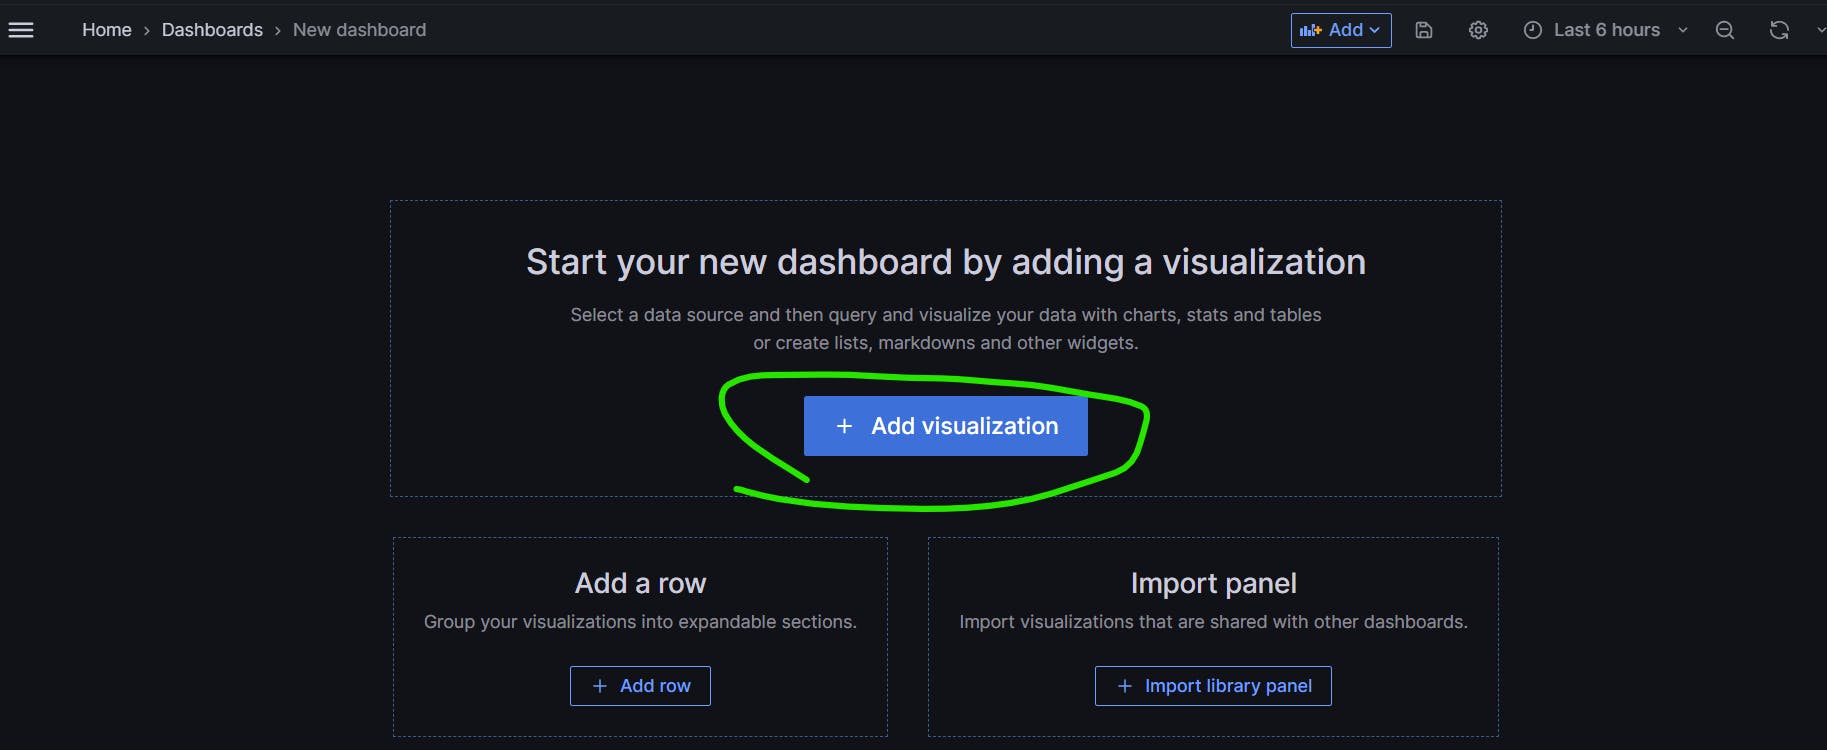
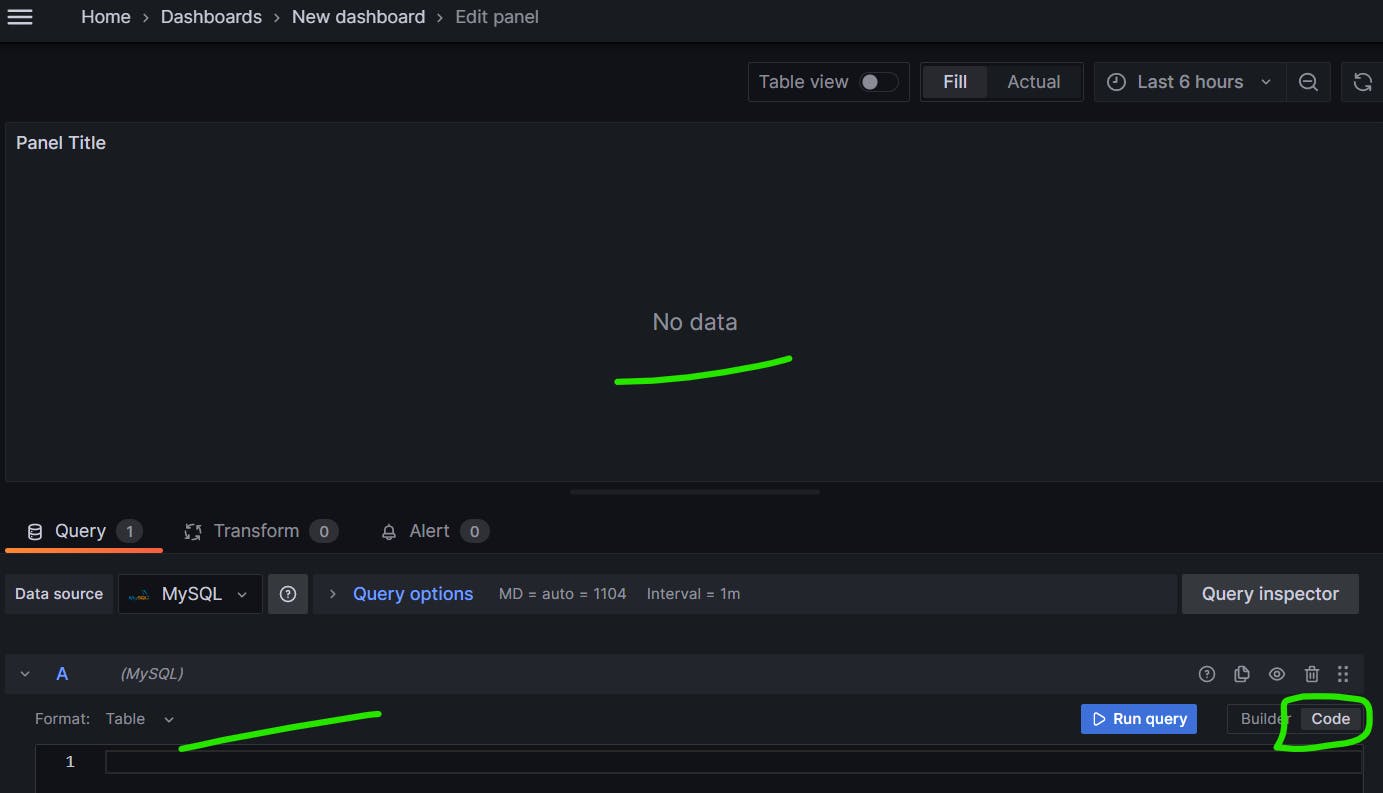
Step 5 : Add a dashboard with Add a panel
click on the code at the bottom which is marked with green colour to provide sql query to get output.
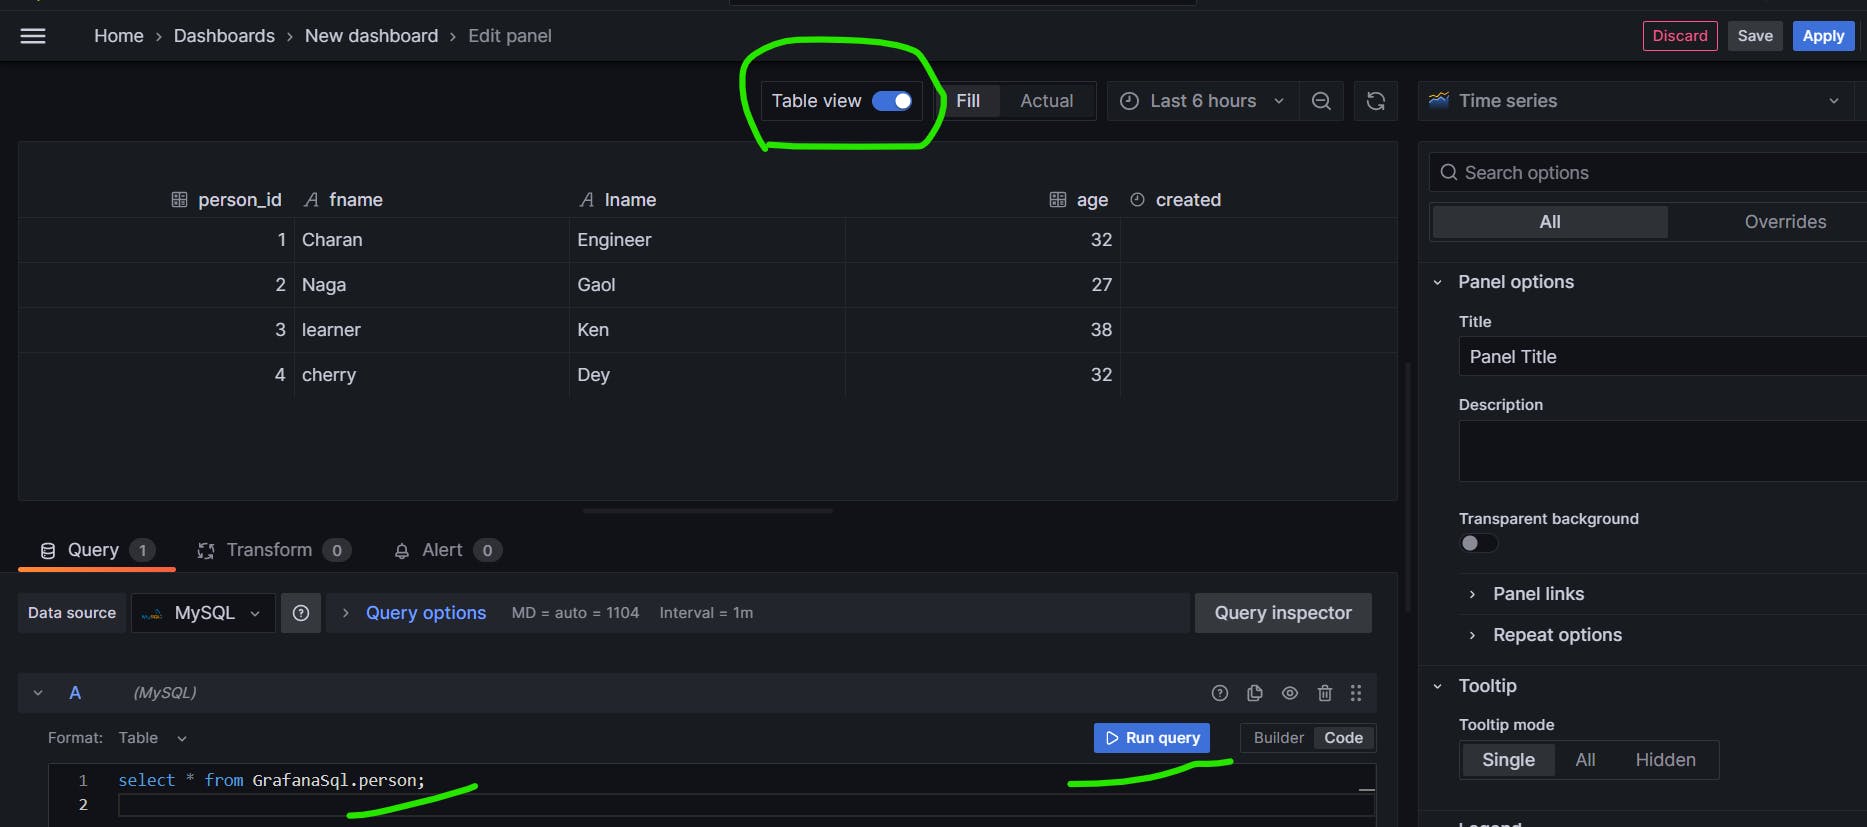
First here we provided `select * from <databasename.tablename>; and on top selected table view then boom.... boom we got our table data.
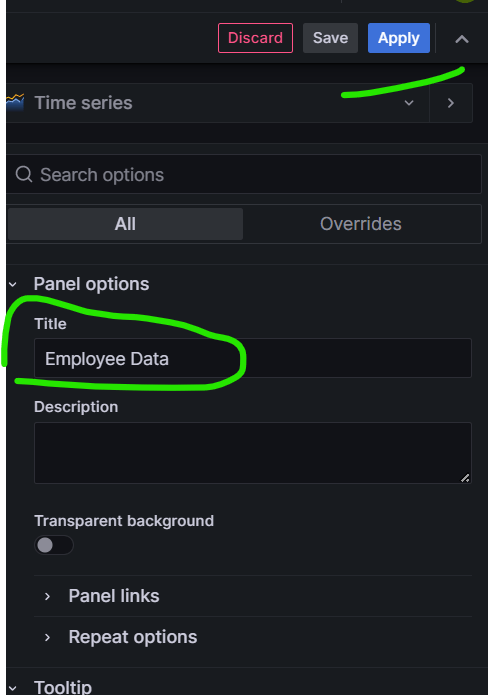
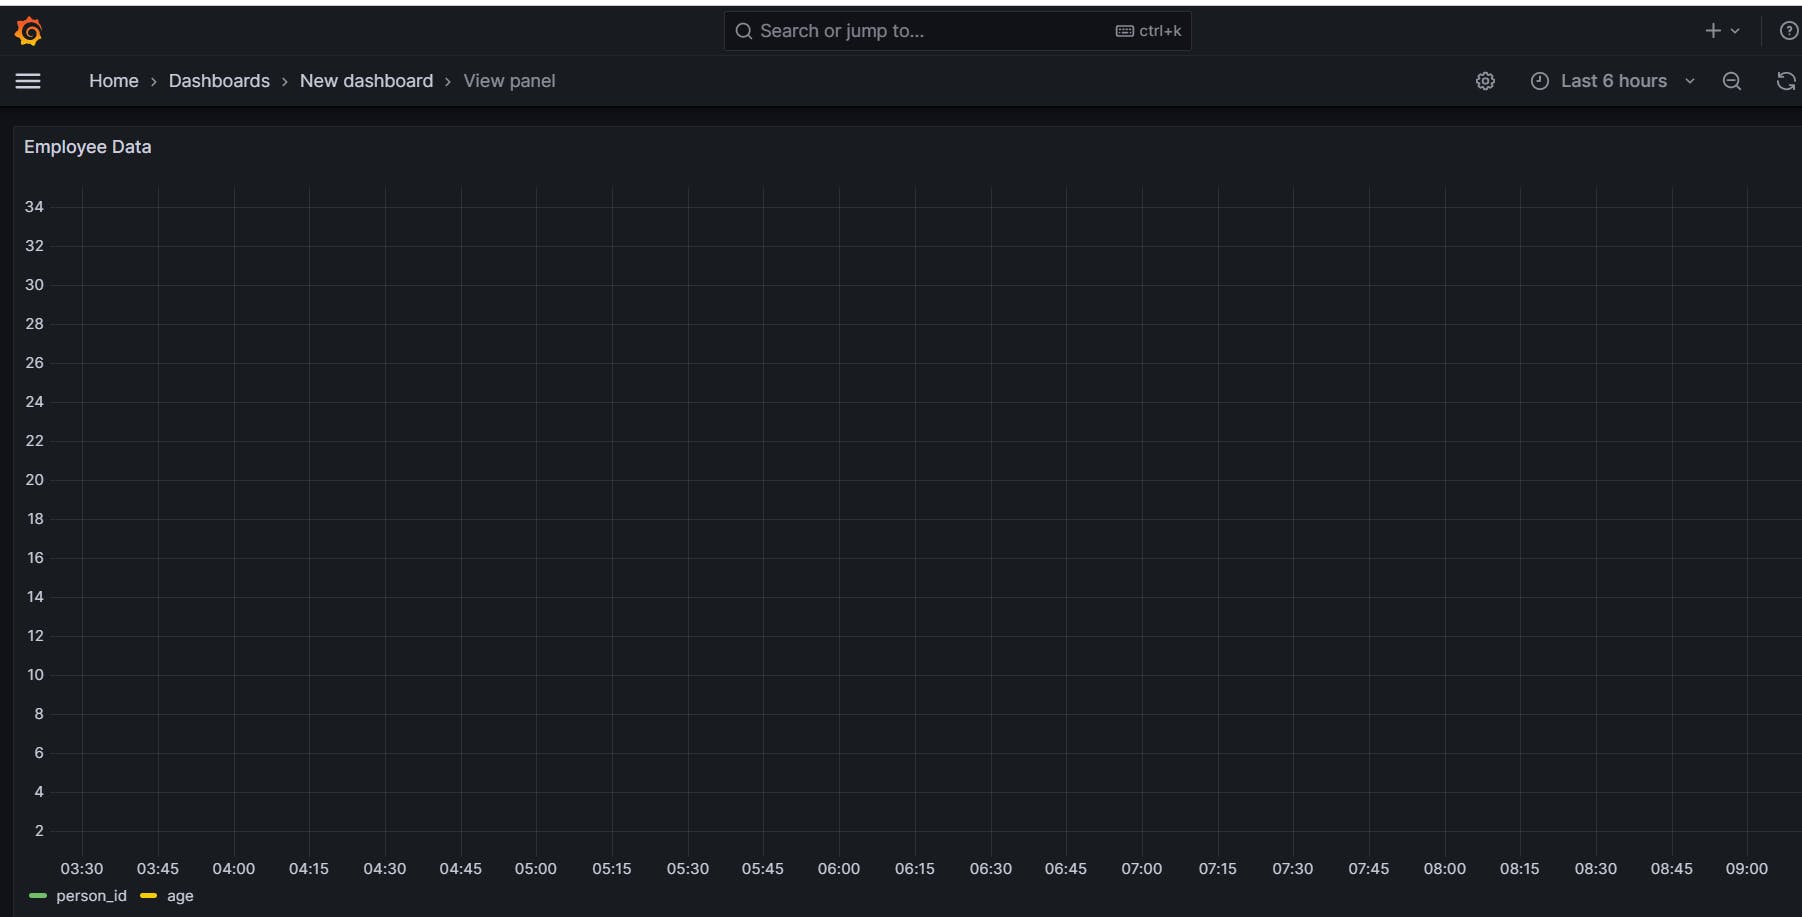
We can name our dashboard and when we click on apply . The pannel name would be named as employee data.
That's it for this blog guys. Hope you learned something from this project.
Special thanks to praveen singampally for making a video on it.
Please provide your valuable feedback by doing like👍, share 🤝and doing commenting.
For more such Projects and blogs related to Devops, Please follow Nagacharan .
Happy learning.....